Images can be powerful visual assets to a webpage. Using images is a great way to add color and help tell a story on your site. It’s important for images to be high quality and be relevant to what is being spoken about on the page. Read more to learn how to choose images, edit them and place them within Cascade.
Choosing images
Images can be a great asset to your website. Search over 88,000 images on FIU's Flickr or images in this FIU Stock collection, which are free to use without permission. Please check with our Multimedia Director Tim Long ( tilong@fiu.edu) for use of other images.
While searching for images keep in mind these ideas in mind:
- Portraits - with simple backgrounds
- Dynamic - engaging and in the moment
- Friendly and student oriented
- Thriving - campus shots that show a sense of community
Image copyright
If using images that are not from FIU Flickr or FIU Stock collection, please be weary of possible copyright infringement. Make sure to get written permission from the owner to use the image or purchase the image for use.
If the website is part of a paid marketing initiative, this may require permission from individuals featured in the images.
When using images of specific programs or individuals, always check with the FIU unit for use of the image. Additionally, the use of identifiable athletes must be cleared by FIU Athletics and should be generally avoided.
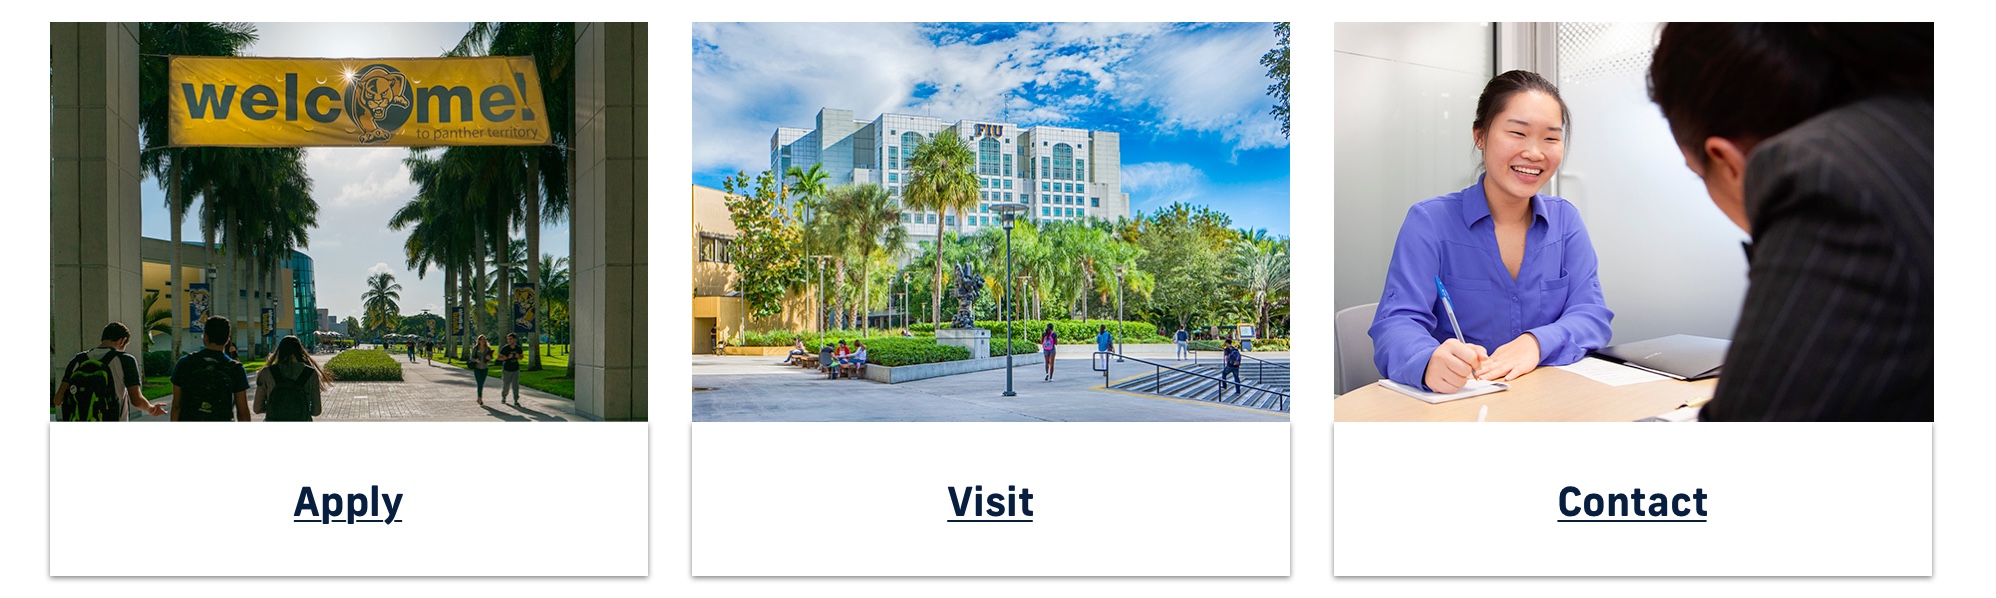
Sample images
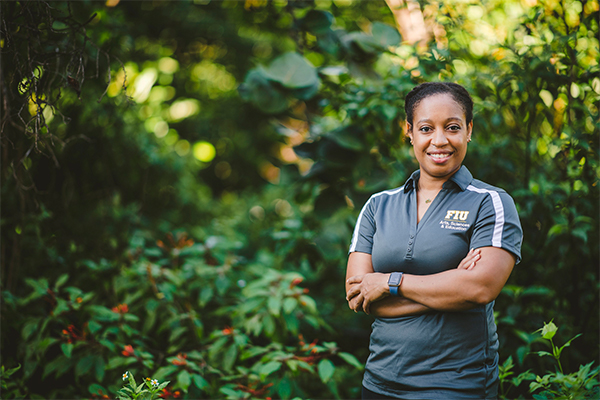
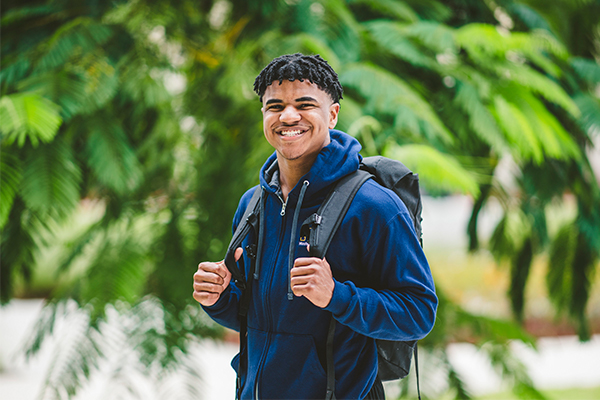
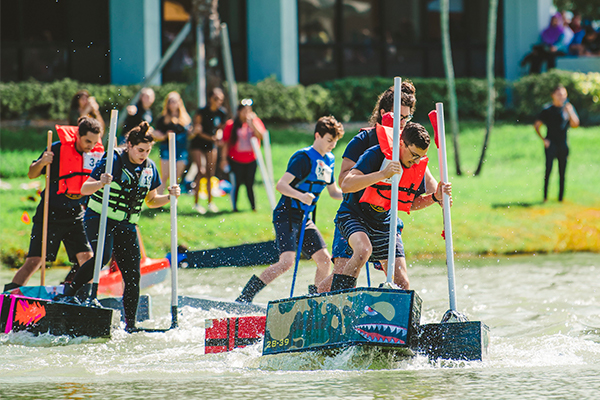
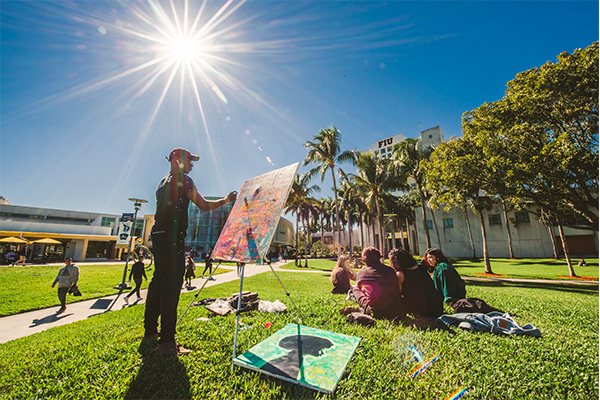
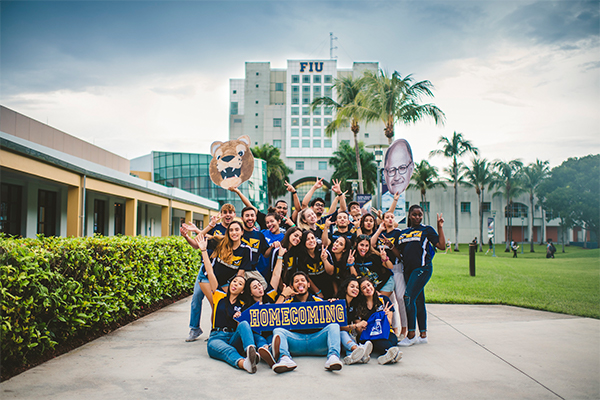
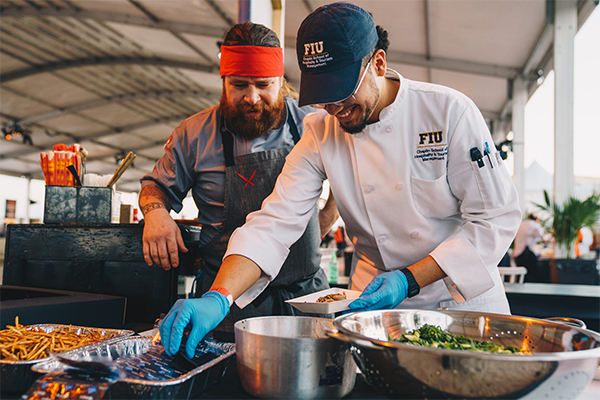
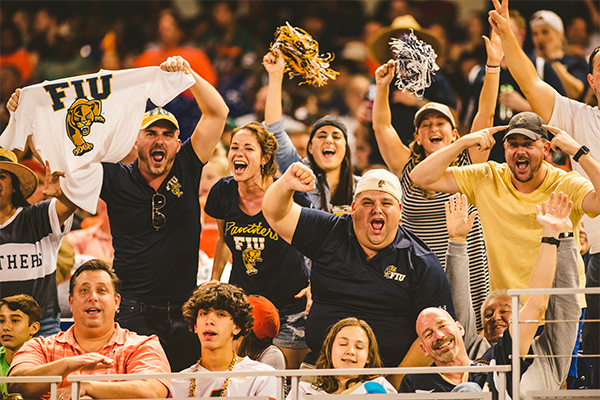
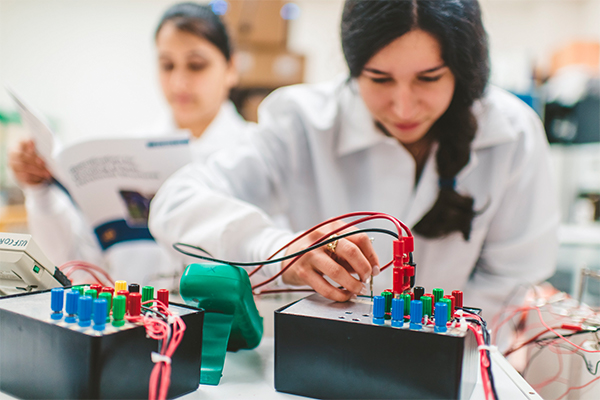
Image use
Banner images
- Size: All banner images must be 1600 x 800-pixel resolution and <999KB size if possible. This ensures that your photo is high quality, fits in the banner image space and doesn’t take a while to load on the page.
- No text: Banner images are decorative and should not include any text. This is to maintain accessibility standards.
- Subject: Use the rule of thirds to ensure the intended subject of your photo is also the focus of your photo. Position the subject in the middle band to ensure they don’t get cut off when you place the image on the page in Cascade.
Standard images on pages
- Size: Images on pages typically should be 600x400.
- Purpose: Images on pages can have text if it’s relevant to what’s on the page. If so, you must add alternative text (or alt text) to the Image Description. This is to maintain accessibility standards.
Editing images
Photoshop
Banner
- Open your photo with Photoshop.
- Click the crop button on the upper left corner.
- Make the crop ratio 2:1
- Click the Overlay options button and select “Rule of Thirds”
- Select “Always Show Overlay”
- It’s recommended to have the focus of your photo falls within the middle band to ensure it doesn’t get cut off when it’s uploaded into Cascade.
- Click the checkmark on the upper right corner.
- Select ‘File’. Then ‘Export’. Then ‘Export As’
- Under ‘Image Size’ input 1600x800.
- If your image is above 1MB you can reduce it by slightly lowering the quality of the image (No lower than 90%).
Standard images
- Open your photo with Photoshop.
- Click the crop button on the upper left corner.
- Select desired ratio. A ratio of 2:3 (4:6) is recommended, but choose what works best for your page layout.
- Click the checkmark on the upright corner.
- Select ‘File’. Then ‘Export’. Then ‘Export As’
- Under ‘Image Size’ input appropriate dimensions. For example, if using 2:3, input 600x400. Choose what works best for your desired page layout. Too large dimensions will result in slower load times. Too small dimensions will result in pixelated or grainy quality.
- If your image is above 1MB you can reduce it by slightly lowering the quality of the image.
Pixlr
Banner
- Go to Pixlr Express and click ‘Continue with Express’ (make sure to enable flash on your browser).
- Click ‘Browse’
- Select your image.
- Click ‘Adjustment’ on the lower left corner
- Select ‘Crop’ and choose the 16:9 aspect ratio.
- Select ‘Resize’ then input 1600 for the width.
- Then hit ‘Apply.’
- Click ‘Save’ in the upper right corner.
- Adjust quality as needed to keep image under 1MB.
Standard images
- Go to Pixlr Express and click ‘Continue with Express’ (make sure to enable flash on your browser).
- Click ‘Browse.’
- Select your image.
- Click ‘Adjustment’ on the lower left corner
- Select ‘Crop’ and choose the aspect ratio. A ratio of 2:3 (4:6) is recommended, but choose what works best for your page layout.
- Select ‘Resize’ then input appropriate dimensions. For example, if using 2:3, input 600x400. Choose what works best for your desired page layout. Too large dimensions will result in slower load times. Too small dimensions will result in pixelated or grainy quality.
- Then hit ‘Apply’.
- Click ‘Save’ in the upper right corner.
- Adjust quality as needed to keep image under 1MB.
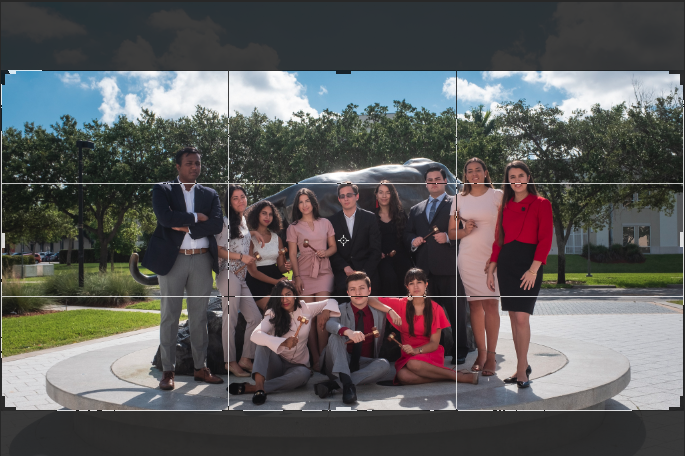
Cropping banner images
When cropping images for banners, always keep in mind the focus of your photo. Utilize the rule of thirds grid to ensure it doesn't get cut off. The focus should be within the middle band of the rule of thirds.
Bad crop
Below is an example of a bad crop. The focus of the photo, which is the group of people, will get cropped off because they don't fit within the middle band of the rule of thirds grid.
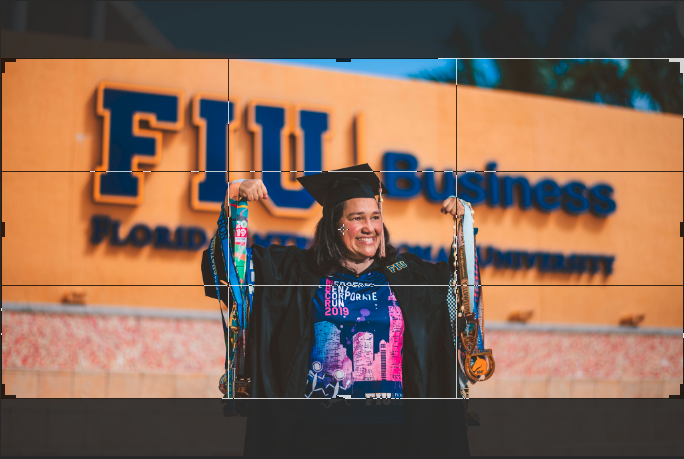
Good crop
Below is an example of a good crop. The focus of the photo, the graduate student, is well within the middle band of the rule of thirds grid.
Uploading images to Cascade
To learn how to upload images to Cascade, download the Cascade guide.
For more information, visit the Cascade training page.
Gradient overlays
Video: Creating gradient overlays on images
- Open your image in photoshop
- On the lower right-hand side, click on your image layer
- Then click the Adjustment Layer icon & select black & white
- The properties panel will open. Check the box next to tint
- Your photo will now have a sepia tint
- Next, click the color that appears next to it
- In the hexcode field, place of the recommended tint colors code
- In this case, we’ll be using FIU Gold. #B6862C
- Click ok
- You’ve added a color overlay to your image
- Be sure to adjust the opacity to 80%
- Now you can Save and Export your photo and upload it to your page
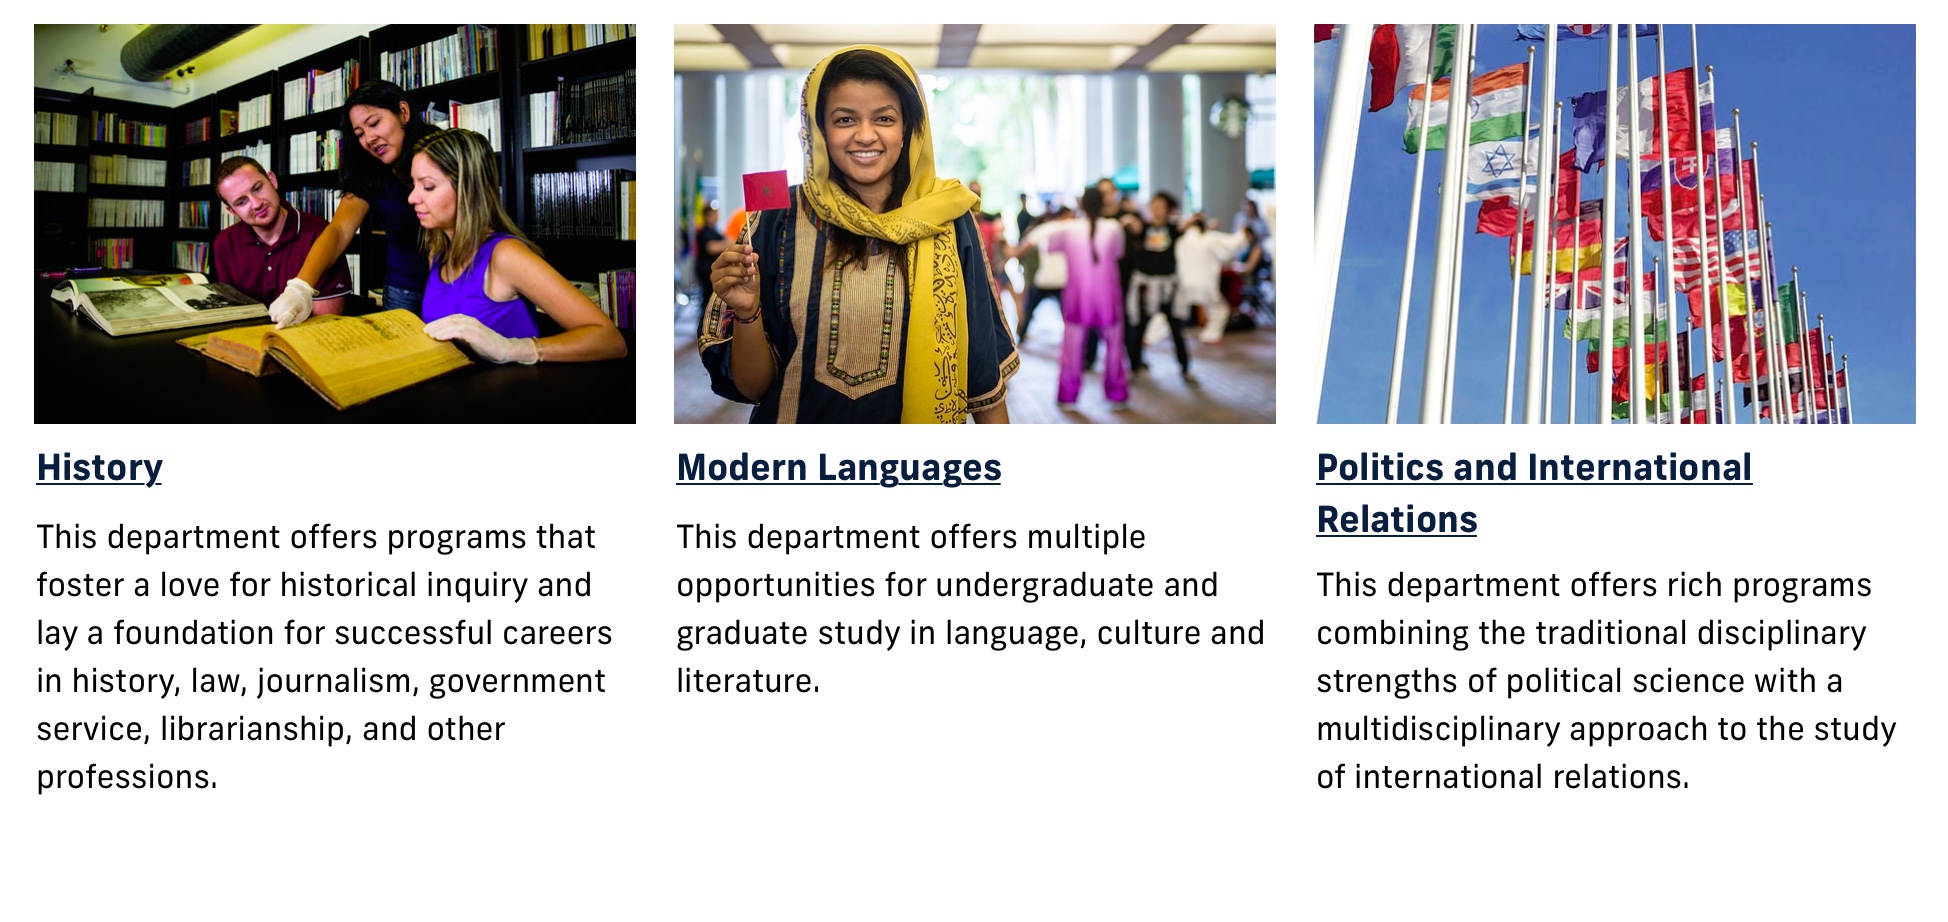
Resizing images for alignment in a three column, thumbnail grid, etc.
When you’re adding photos in a three column, or a thumbnail grid, the easiest way to get them to perfectly align, is to ensure they are all the same size. Typically, we suggest using 600x400 for images on the page. However, this may vary depending on the photos and in the case of a thumbnail grid, how large you’d like them to look.
When aligning photos in a three column, make sure they are on the same line, you can ensure this by eyeballing where it falls in the WYSIWYG, but it may be easier to see where they appear in the Source Code <>.
For more information on how to resize photos, please review the Standard images section under Editing Images.
Examples